Easy Stained Glass Cookies
Highlighted under: Classic Baking Inspiration
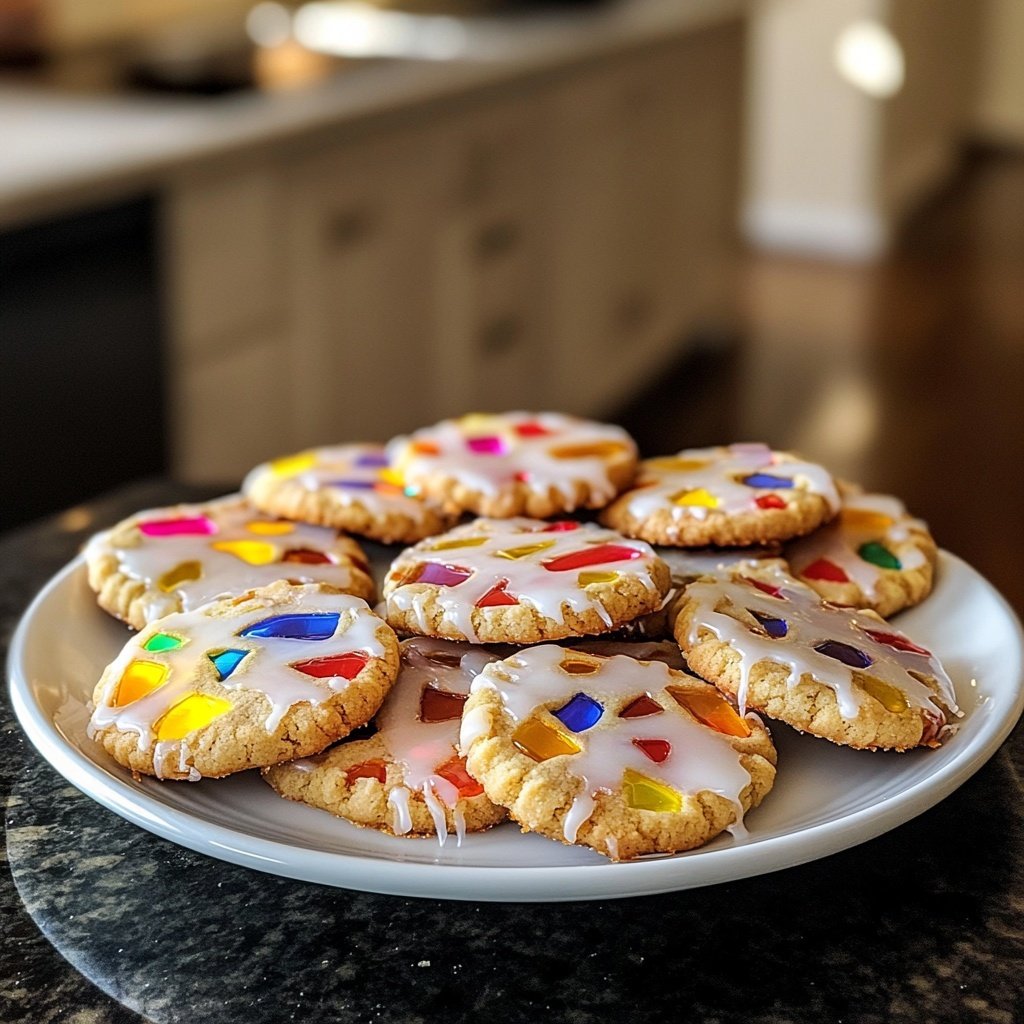
Delight in the whimsical beauty of Easy Stained Glass Cookies, perfect for festive occasions and holiday celebrations.
Easy Stained Glass Cookies bring a touch of magic to your dessert table. These colorful cookies are not only visually stunning but also deliciously sweet, making them the perfect treat for kids and adults alike. Once baked, they make a delightful addition to any holiday cookie platter!

Why You'll Love These Cookies
- Visually stunning with vibrant colors
- Fun and interactive to make with kids
- Perfect for gifting or holiday parties
The Art of Stained Glass Cookies
Stained glass cookies are not only delicious but also a feast for the eyes. Their vibrant colors and unique designs make them a standout treat at any gathering. These cookies feature a beautiful translucent center created by melting hard candies, resembling stained glass windows. This artistic touch elevates a simple cookie into a work of art, making them an instant conversation starter at holiday parties and family gatherings.
Making stained glass cookies is a delightful experience that can engage the whole family. Kids will love helping to crush the candies and choosing their favorite colors for the centers. This interactive process not only fosters creativity but also creates lasting memories. Plus, the excitement of watching the candies melt in the oven adds an element of surprise to baking, making it a fun activity for all ages.
Perfect for Any Occasion
Whether you're hosting a festive gathering or looking for a charming gift, these stained glass cookies fit the bill. Their eye-catching appearance makes them a wonderful addition to cookie platters, holiday gift boxes, or even as a decorative centerpiece. You can personalize them by using different cookie shapes and candy colors, making them suitable for birthdays, weddings, or seasonal celebrations.
Moreover, these cookies are incredibly versatile. You can easily adjust the flavor profile by experimenting with different extracts or adding spices like cinnamon or nutmeg. This adaptability ensures that you can create a unique batch of cookies that aligns perfectly with your event theme or personal taste.
Baking Tips for Success
To achieve the best results with your stained glass cookies, ensure that your dough is chilled properly. Chilling the dough not only makes it easier to roll out but also prevents the cookies from spreading too much during baking. This step is crucial for maintaining the shape of your cookie cutouts, especially the delicate centers where the candy will go.
When it comes to crushing the hard candies, consider using a zip-top bag and a rolling pin for a mess-free experience. Just be cautious while crushing to avoid turning the candies into powder; small pieces are ideal for a beautiful stained glass effect. Lastly, monitor your cookies closely while baking, as oven temperatures can vary. You want the edges to be lightly golden without overbaking, which could affect the final texture.
Ingredients
For the Cookies
- 2 3/4 cups all-purpose flour
- 1 teaspoon baking powder
- 1/2 teaspoon salt
- 1 cup unsalted butter, softened
- 1 1/2 cups granulated sugar
- 1 large egg
- 1 teaspoon vanilla extract
- 1 teaspoon almond extract
- Assorted hard candies (like Jolly Ranchers or Life Savers)
These ingredients will make the perfect stained glass cookies!
Instructions
Prepare the Dough
In a bowl, whisk together the flour, baking powder, and salt. In a separate large bowl, cream the butter and sugar until light and fluffy. Beat in the egg, vanilla extract, and almond extract. Gradually add the dry ingredients to the wet ingredients, mixing until just combined.
Chill the Dough
Divide the dough into two halves, shape each half into a disc, wrap in plastic wrap, and refrigerate for at least 1 hour.
Roll and Cut the Cookies
Preheat your oven to 375°F (190°C). On a floured surface, roll out one disc of dough to about 1/4 inch thick. Use cookie cutters to cut out shapes, and then use a smaller cookie cutter to cut out the centers.
Add the Candy
Crush the hard candies and fill the cut-out centers of the cookies with the crushed candy pieces.
Bake
Place the cookies on a baking sheet lined with parchment paper and bake for 8-10 minutes or until the edges are lightly golden. Allow them to cool completely on a wire rack.
Enjoy your beautiful stained glass cookies!
Pro Tips
- For best results, ensure the dough is chilled before rolling out to prevent sticking.
Storing Your Cookies
Once your stained glass cookies have cooled completely, store them in an airtight container to maintain their freshness. They can last for about a week at room temperature, making them a great option for pre-baking ahead of festivities. If you want to keep them longer, consider freezing them. Place layers of parchment paper between the cookies to prevent sticking, and store them in a freezer-safe container.
When you're ready to enjoy them again, simply thaw the cookies at room temperature for a few hours. Avoid microwaving them, as this may lead to a chewy texture instead of the desired crispness.
Creative Variations
While the classic stained glass cookie is a treat on its own, there are numerous variations you can try to keep things exciting. For a seasonal twist, consider using holiday-themed cookie cutters, like Christmas trees, hearts, or stars. You can also experiment with different flavored hard candies, such as peppermint for winter or fruity flavors for summer gatherings.
Another fun idea is to add decorative icing once the cookies have cooled. You can pipe designs on the cookies or sprinkle edible glitter for extra sparkle. This not only enhances their visual appeal but also allows you to personalize them for different occasions.
Questions About Recipes
→ Can I use different types of candies?
Yes! You can experiment with any hard candy that melts well.
→ How can I store these cookies?
Store them in an airtight container at room temperature for up to a week.
→ Can I freeze these cookies?
Yes, you can freeze the baked cookies for up to 3 months. Just make sure they are well-wrapped.
→ What can I do if the candy doesn't melt properly?
Make sure the cookies are baked long enough, and consider crushing the candy into smaller pieces to help it melt.
Easy Stained Glass Cookies
Created by: Imani Brooks
Recipe Type: Classic Baking Inspiration
Skill Level: Intermediate
Final Quantity: 24 cookies
What You'll Need
For the Cookies
- 2 3/4 cups all-purpose flour
- 1 teaspoon baking powder
- 1/2 teaspoon salt
- 1 cup unsalted butter, softened
- 1 1/2 cups granulated sugar
- 1 large egg
- 1 teaspoon vanilla extract
- 1 teaspoon almond extract
- Assorted hard candies (like Jolly Ranchers or Life Savers)
How-To Steps
In a bowl, whisk together the flour, baking powder, and salt. In a separate large bowl, cream the butter and sugar until light and fluffy. Beat in the egg, vanilla extract, and almond extract. Gradually add the dry ingredients to the wet ingredients, mixing until just combined.
Divide the dough into two halves, shape each half into a disc, wrap in plastic wrap, and refrigerate for at least 1 hour.
Preheat your oven to 375°F (190°C). On a floured surface, roll out one disc of dough to about 1/4 inch thick. Use cookie cutters to cut out shapes, and then use a smaller cookie cutter to cut out the centers.
Crush the hard candies and fill the cut-out centers of the cookies with the crushed candy pieces.
Place the cookies on a baking sheet lined with parchment paper and bake for 8-10 minutes or until the edges are lightly golden. Allow them to cool completely on a wire rack.
Extra Tips
- For best results, ensure the dough is chilled before rolling out to prevent sticking.
Nutritional Breakdown (Per Serving)
- Calories: 120 kcal
- Total Fat: 5g
- Saturated Fat: 3g
- Cholesterol: 20mg
- Sodium: 50mg
- Total Carbohydrates: 18g
- Dietary Fiber: 0g
- Sugars: 10g
- Protein: 1g